My Vintage Pledge Shoulder Tie Top has been such a success I thought I'd whip up another one in a summery fabric for my holiday.

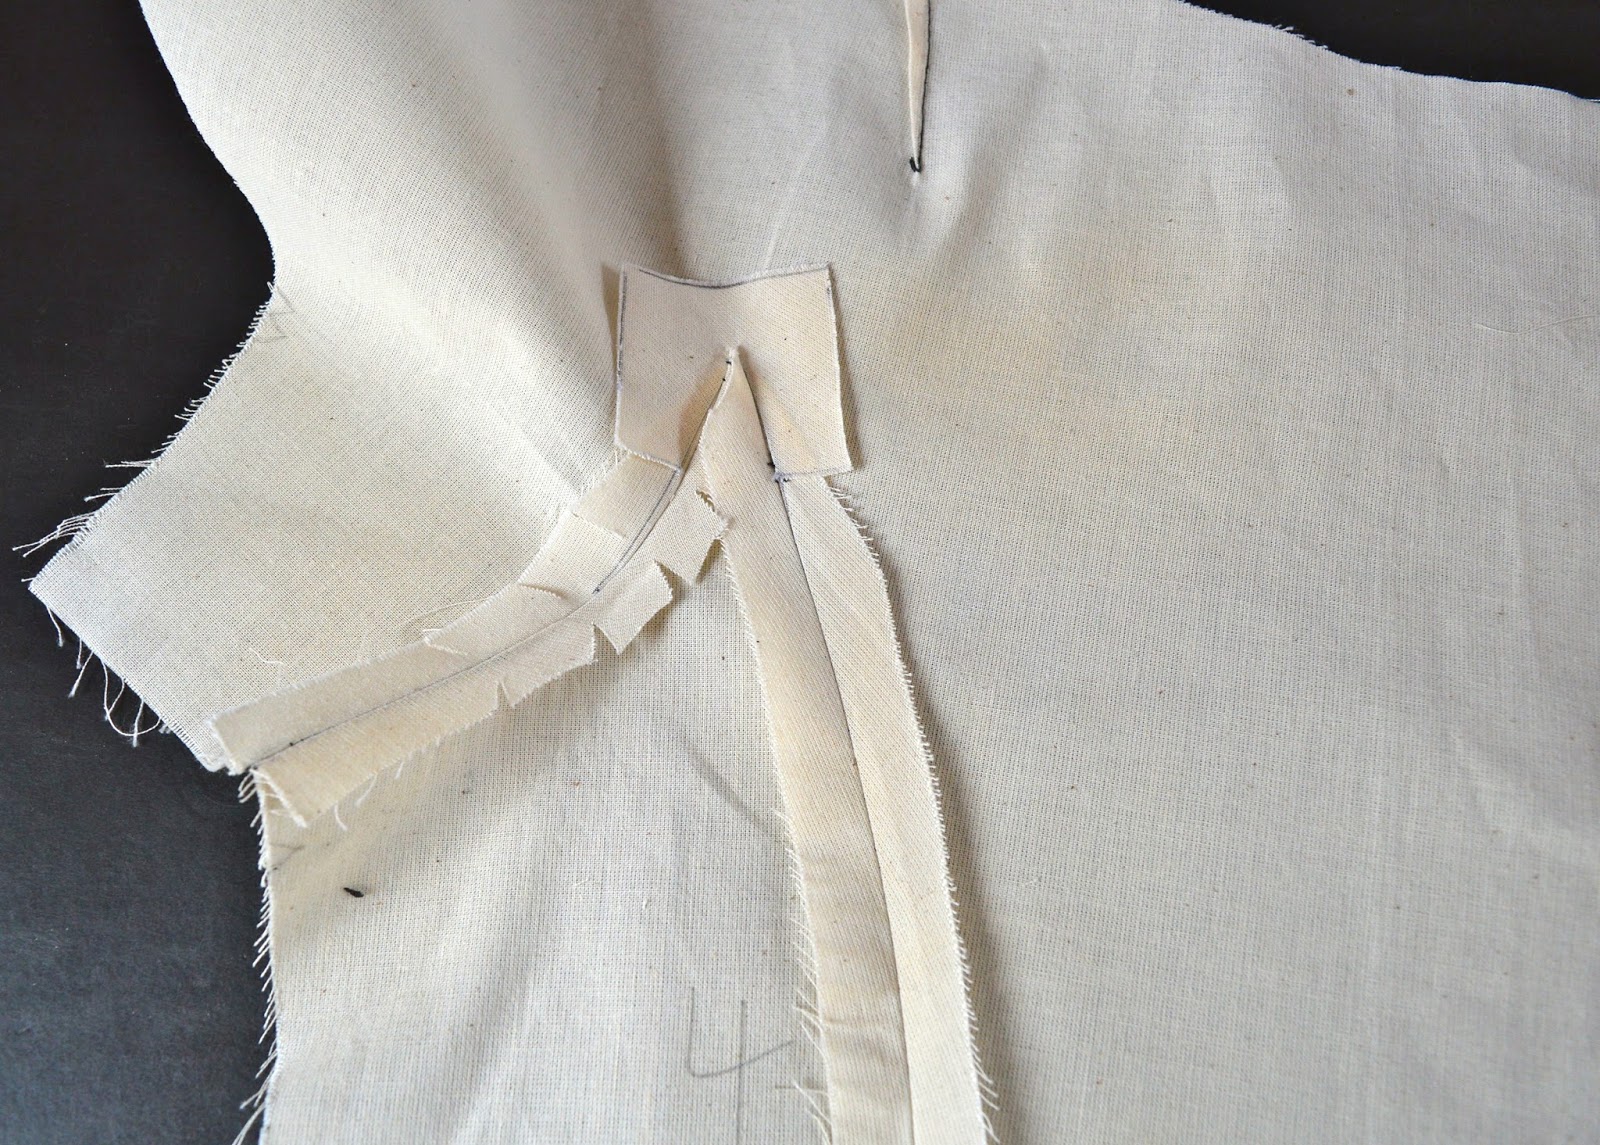
The pattern is a Woman's Own mail order pattern from 1961 and this latest version is made from some lightweight polka dot lawn I received from Cindy a few years ago. I've used quite a lot of it for various linings, but with some imaginative cutting out there was just enough left for this top (I cut the front pattern piece on the fold, which eliminates the front split). The neck and armholes are finished with all-in-one facings, which I had terrible trouble getting to grips with when I used them on my Betty dress. I've since discovered a step-by-step guide to sewing them on the Sew Over It blog which finally made something click in my brain - I'd definitely recommend it for this technique. Everything is finished by machine which gives the facings a clean, professional feel.
The thing I like about this top is that the shoulder ties are removable so it can be worn two ways. It performs valiantly as a plain, no nonsense tank top….

But add the shoulder ties and there's suddenly a suggestion of gathers to the shoulders and a touch of vintage interest, yay!

They're easy to make too. So easy in fact that I've put together a tutorial if you'd like to make your own. Read on if you're interested, otherwise, see you next time! x

But add the shoulder ties and there's suddenly a suggestion of gathers to the shoulders and a touch of vintage interest, yay!

They're easy to make too. So easy in fact that I've put together a tutorial if you'd like to make your own. Read on if you're interested, otherwise, see you next time! x
Vintage Style Shoulder Ties
The ties can be added to any sleeveless tank or singlet - I simply knot mine once around the shoulder seams and they seem to stay in place all day. If you prefer a smaller tie or have particularly slippery fabric then tying a double knot will make them even more secure.
The ties can be added to any sleeveless tank or singlet - I simply knot mine once around the shoulder seams and they seem to stay in place all day. If you prefer a smaller tie or have particularly slippery fabric then tying a double knot will make them even more secure.
It's also your choice whether or not you interface your ties. I didn't use interfacing on either of the two versions I've made and I like the resulting drapey effect. Adding interfacing will probably result in a more structured tie.
Please note that the measurements for the ties are taken directly from my vintage pattern piece and are in inches as that's how they were drafted. The seam allowance for this project is ½".
You will need
Half a yard/metre of fabric with selvedges folded into the centre so you have two folded edges.
Paper, pencil and ruler
1. Mark a rectangle on your paper 16.5" long x 2 ⅝" wide and cut out.
2. At one end of the rectangle you'll need to mark out three measurements as shown below:
1 ¼" along the top edge
1 ⅝" in along the bottom edge
1 ½" up from bottom left hand corner


3. Join the measurements together and cut along the lines to make a point.


4. Repeat at the other end (you can simply fold your paper in half widthways and draw round the point).
5. Mark a fold line along the top edge.


You should now have a pattern piece that looks like this, with the lower diagonal lines slightly longer than the upper ones.
6. Place your pattern on the fold(s) of your fabric and cut two separate pieces. This is what each piece should look like opened out.


7. Fold the fabric lengthwise with right sides together and place two pins about 2 - 3 inches apart in the middle of the unfolded edge. The pins will mark your turning gap. Pin the rest of the edges together if you need to.


8. Starting at one corner along the folded edge, sew right round the edge using a ½" seam allowance. Stop when you get to the pin marker. Repeat on the other side.


I sewed this sample with black thread so you can see the line of stitches.

9. Trim the seam allowances and snip off the corners on the pointed edge to reduce bulk, then turn your tie the right way round.


10. Poke into your corners with a point turner or similar to ensure you have a nice pointed end.
Give the tie a good press, making sure the seam allowance of the turning gap is pressed under too.


11. Machine stitch across the turning gap close to the edge (or catch stitch by hand if you prefer). Repeat for the other tie. Ta-da - two lovely shoulder ties!


Don't worry if your pointed edges aren't perfectly symmetrical - as you can see from the examples above, mine certainly aren't! Once they're tied onto the shoulders it's not noticeable at all. Wear with pride! x


As always, if there's anything that doesn't make sense, please let me know in the comments. Have a good week! x