




When I first learnt to sew in 2009, my dressmaking teacher advised me to master the art of skirt making first. Her reasoning being that women's bottom halves are generally easier to fit than their top halves. I searched in vain for a book that would teach me to do just that, but never found anything suitable that focused exclusively on skirts. How I wish A Beginner's Guide to Making Skirts by Wendy Ward had been around at that time!

The book is exactly as described: a comprehensive guide to making skirts with full size paper patterns. Wendy focuses on eight basic skirt shapes: circle, A-line, stretch pencil, wrap, bubble, tailored pencil, front opening and culottes and offers three variations for each style. That's a lot of skirts to get your teeth into!


The simplest version of each style is shown made up in denim, which I think is a nice touch as it gives you a good idea of the basic shape before you start getting adventurous! The majority of styles are ones I'd make and wear, the only exception being the bubble (or puffball) skirt which I was never a fan of, even as a teenager in the 80's!

The book is exactly as described: a comprehensive guide to making skirts with full size paper patterns. Wendy focuses on eight basic skirt shapes: circle, A-line, stretch pencil, wrap, bubble, tailored pencil, front opening and culottes and offers three variations for each style. That's a lot of skirts to get your teeth into!


There are step-by-step instructions with clear diagrams for each project variation, with basic methods for inserting zips, attaching waistbands, adding linings etc, all included in the excellent Techniques section at the back of the book.

This section is massive and it really does cover everything you need to know, not just about skirt making but about sewing in general - it's almost a sewing book in its own right! The techniques required for each project are listed at the beginning of each skirt 'type' and it's definitely worth reading through them beforehand so you have an idea of what you'll be doing. You'll still have to flick between different parts of the book to look them up, especially if you're a beginner, but at least you'll be prepared.
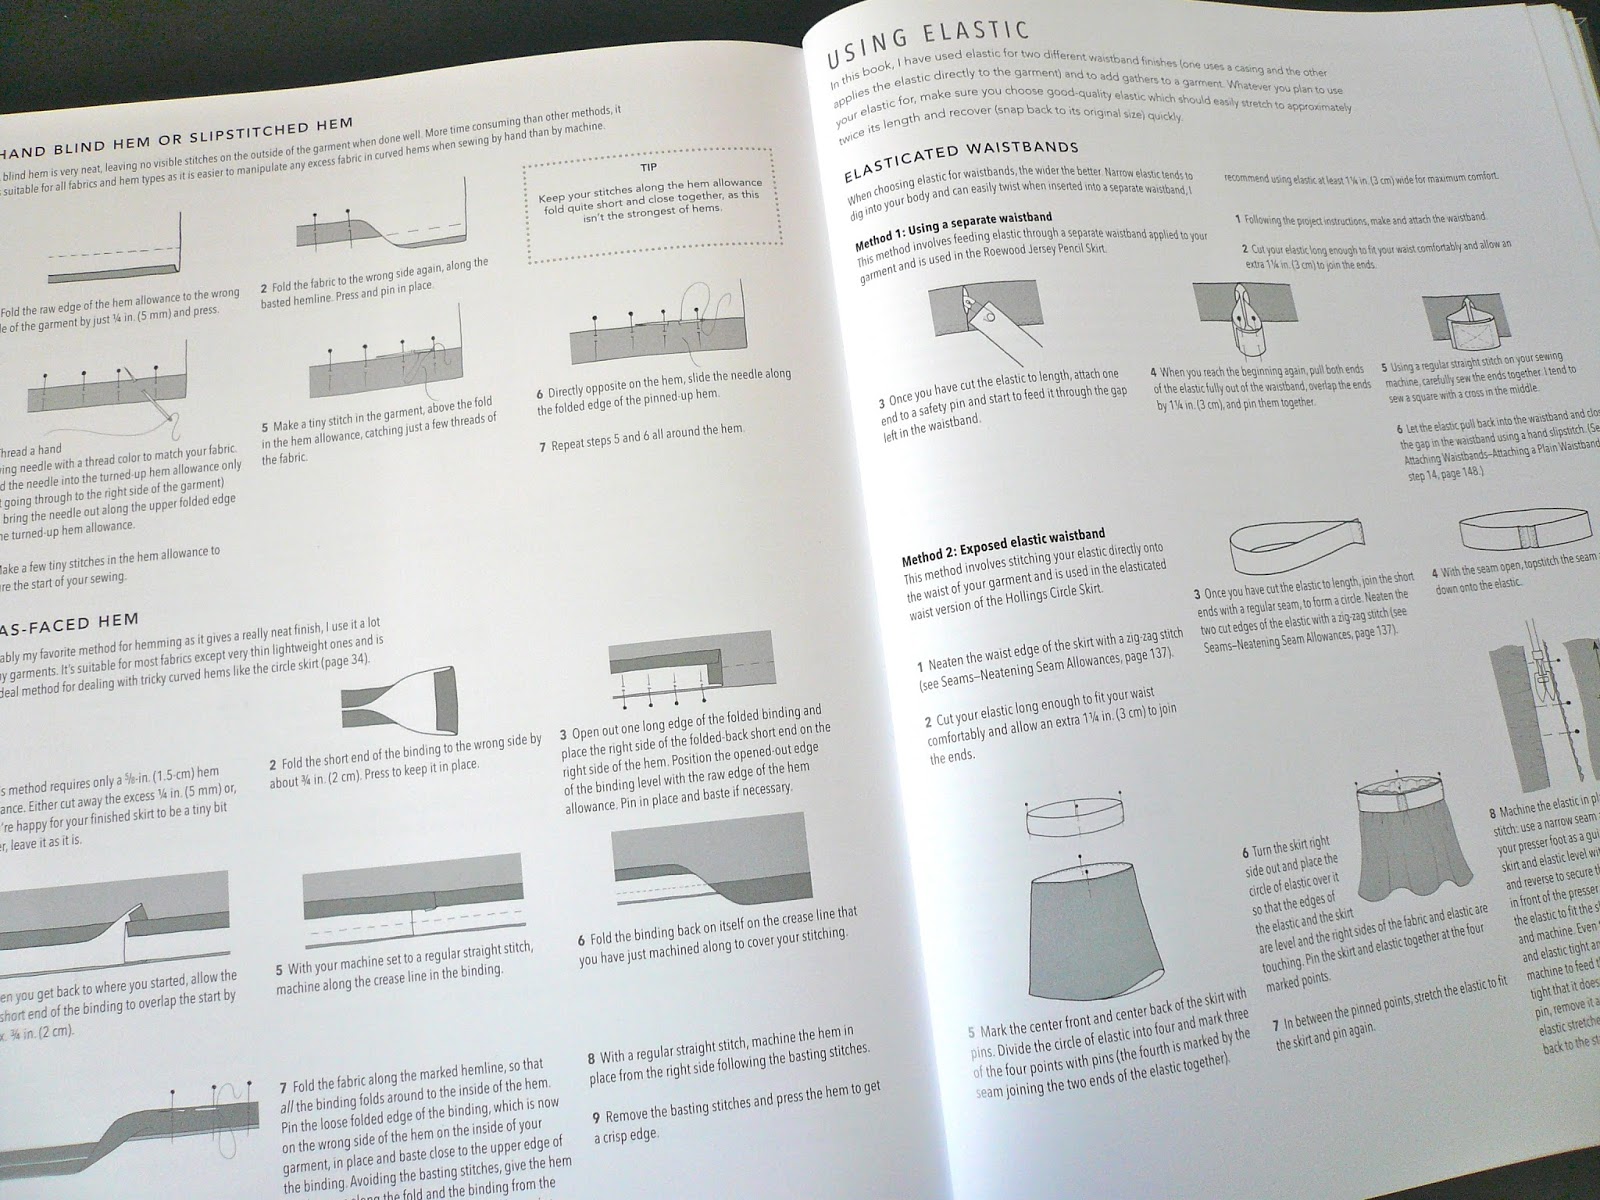
This section is massive and it really does cover everything you need to know, not just about skirt making but about sewing in general - it's almost a sewing book in its own right! The techniques required for each project are listed at the beginning of each skirt 'type' and it's definitely worth reading through them beforehand so you have an idea of what you'll be doing. You'll still have to flick between different parts of the book to look them up, especially if you're a beginner, but at least you'll be prepared.


While we're on the subject of preparation, I'd also recommend you read the Using Paper Patterns section very carefully before you start. I dived straight in and consequently tripped up a couple of times. Firstly, the pattern piece for the skirt I made (the Rusholme) is printed in two halves (top half and bottom half) on two different pattern sheets, which flummoxed me a little. Secondly, some pattern pieces, such as waistbands and facings, are used for more than one project. I was looking in vain for ages for a facing for the Rusholme skirt before I re-read the instructions and realised I had to use the pattern pieces for the Fallowfield skirt!
Once you've located your pieces you'll need to trace them from the three large pattern sheets, as the sheets are printed on both sides and the patterns overlap. I have to admit, a Burda-style pattern road map is not my favourite way to work, but having said that, once I'd worked out a few basics (see paragraph above!), it didn't actually take long to trace them off.


The skirts in the book are printed in order of difficulty and the Rusholme A-line skirt I chose is somewhere in the middle. The skirt is shown with three variations: short with a waist facing, knee-length with waistband and centre front pleat or long with pockets and waistband.
In the spirit of the book I chose to mix and match between variations, making a short skirt with a waist facing but also including a centre front pleat. The book actually advises not to use a facing with the pleated version (and I can see why as there is more fabric in the pleat to be supported) but I decided to be a rebel and throw caution to the wind.

Sizes are based on your hip measurements and range from 34¾ inches (88cms) to 51 inches (129cms). This is the equivalent of UK sizes 8-26 or US sizes 4-22. I cut a size 38 inch hip but graded to the next size up at the waist as the finished measurement would have been too tight. I also used the length of the smallest size to save having to shorten the pattern. These were the only changes I made to the pattern and as there were just two skirt pieces and two facing pieces it didn't take long to sew at all.
The fabric I used was a fine wool suiting (Muted Grid in Denim) from Fabworks, who kindly supplied the fabrics for this blog tour. It's a reasonably lightweight fabric with a good drape and the ability to hold a sharp crease, which was exactly what I was after. It does fray quite noticeably if handled too much, but apart from that it was a pleasure to work with.

The finished skirt fits me like a glove: it has the perfect amount of ease around the waist (I'm glad I went up a size!) but still has a nice shape. I love the roominess of the inverted pleat too, it almost looks like I'm wearing a pair of culottes. As for the illegal facing/pleat combination I'm happy to report it hasn't caused any problems so far, probably because my fabric wasn't too heavyweight.
A Beginner's Guide to Making Skirts is an excellent introduction to skirt making, not just for beginners but for more experienced sewers too. As Wendy says at the start of the book, "The devil is in the detail and I'll show you how to perfect those details…I'm a stickler for doing things right and taking the time needed to get the best results" I'm definitely pleased with the results - so much so that I've already cut out a second skirt!

A Beginner's Guide to Making Skirts was given to me for review by CICO Books and the fabric was supplied by Fabworks. All views my own.
In the spirit of the book I chose to mix and match between variations, making a short skirt with a waist facing but also including a centre front pleat. The book actually advises not to use a facing with the pleated version (and I can see why as there is more fabric in the pleat to be supported) but I decided to be a rebel and throw caution to the wind.

Sizes are based on your hip measurements and range from 34¾ inches (88cms) to 51 inches (129cms). This is the equivalent of UK sizes 8-26 or US sizes 4-22. I cut a size 38 inch hip but graded to the next size up at the waist as the finished measurement would have been too tight. I also used the length of the smallest size to save having to shorten the pattern. These were the only changes I made to the pattern and as there were just two skirt pieces and two facing pieces it didn't take long to sew at all.
The fabric I used was a fine wool suiting (Muted Grid in Denim) from Fabworks, who kindly supplied the fabrics for this blog tour. It's a reasonably lightweight fabric with a good drape and the ability to hold a sharp crease, which was exactly what I was after. It does fray quite noticeably if handled too much, but apart from that it was a pleasure to work with.

The finished skirt fits me like a glove: it has the perfect amount of ease around the waist (I'm glad I went up a size!) but still has a nice shape. I love the roominess of the inverted pleat too, it almost looks like I'm wearing a pair of culottes. As for the illegal facing/pleat combination I'm happy to report it hasn't caused any problems so far, probably because my fabric wasn't too heavyweight.
A Beginner's Guide to Making Skirts is an excellent introduction to skirt making, not just for beginners but for more experienced sewers too. As Wendy says at the start of the book, "The devil is in the detail and I'll show you how to perfect those details…I'm a stickler for doing things right and taking the time needed to get the best results" I'm definitely pleased with the results - so much so that I've already cut out a second skirt!

A Beginner's Guide to Making Skirts was given to me for review by CICO Books and the fabric was supplied by Fabworks. All views my own.


